Table of Contents

Preparatory Steps
Remove
Clean and Inspect for Reuse
Install
Finishing Steps


Preparatory Steps

TOC


SMALL | MEDIUM | LARGE


Remove

TOC

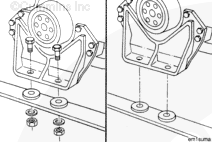
Remove the two capscrews from the front engine mounts and the support bracket.

Raise the front of the engine with the hoist.


SMALL | MEDIUM | LARGE
   

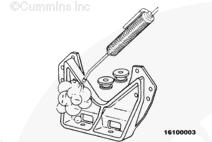
Remove the eight mounting capscrews and the front engine support bracket from the gear cover.

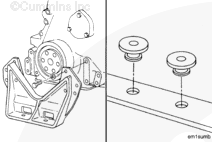
Remove the rubber engine mounts from the crossmember.


SMALL | MEDIUM | LARGE


Clean and Inspect for Reuse

TOC
 WARNING 

When using a steam cleaner, wear safety glasses or a face shield, as well as protective clothing. Hot steam can cause serious personal injury.
 WARNING 

When using solvents, acids, or alkaline materials for cleaning, follow the manufacturer’s recommendations for use. Wear goggles and protective clothing to reduce the possibility of personal injury.
 WARNING 

Wear appropriate eye and face protection when using compressed air. Flying debris and dirt can cause personal injury.

Steam clean or use solvent to clean the components.

Dry the components with compressed air.


SMALL | MEDIUM | LARGE
   

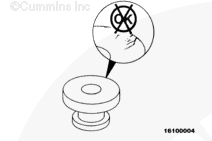
Inspect the engine mounts for cracks or deterioration.


SMALL | MEDIUM | LARGE
   

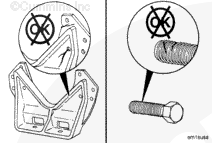
Inspect the engine support bracket for cracks or other damage.

Inspect the capscrew threads for damage.


SMALL | MEDIUM | LARGE


Install

TOC

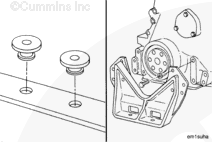
Install the rubber engine mounts into the crossmember.

Install the engine support bracket and the eight mounting capscrews.

Tighten the capscrews. 

Torque Value:  68  n.m  [50 ft-lb]


SMALL | MEDIUM | LARGE
   

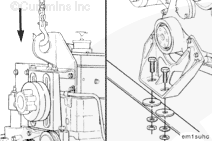
Lower the front of the engine to the rubber engine mounts.

NOTE: The capscrew holes in the support bracket must be aligned with the capscrew holes in the engine mounts.

Install the two support bracket to engine mount capscrews, and tighten to the manufacturer's specifications.


SMALL | MEDIUM | LARGE


Finishing Steps

TOC


SMALL | MEDIUM | LARGE


Last Modified:  30-Nov-2011
Feedback / Help