Table of Contents

Remove
Clean
Inspect for Reuse
Install


Remove

TOC

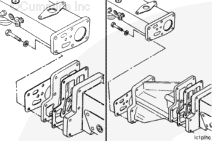
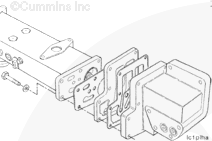
Remove the six capscrews which connect the oil cooler support to the oil cooler transfer housing.

Remove the spacer plate or drop mount connection. Refer to Procedure 007-003 in Section 7.


SMALL | MEDIUM | LARGE


Clean

TOC

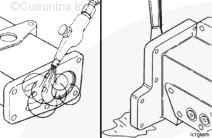
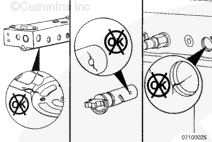
Clean all gasket surfaces.


SMALL | MEDIUM | LARGE
   

 WARNING 

When using solvents, acids, or alkaline materials for cleaning, follow the manufacturer's recommendations for use. Wear goggles and protective clothing to reduce the possibility of personal injury.
 WARNING 

Wear appropriate eye and face protection when using compressed air. Flying debris and dirt can cause personal injury.

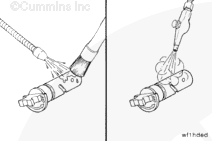
Clean the filter head and the shutoff valve with solvent.

Dry with compressed air.


SMALL | MEDIUM | LARGE


Inspect for Reuse

TOC

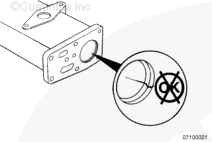
Inspect for cracks or other damage.

Inspect the bypass valve seat.

NOTE: Do not allow dirt or gasket material to fall into the oil passages.


SMALL | MEDIUM | LARGE
   

Inspect the filter head and the shutoff valve and seat for cracks, pitting, corrosion, or other damage. Replace if damage is found.


SMALL | MEDIUM | LARGE
   

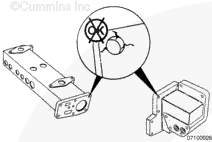
Inspect the oil cooler support, housing, plate, and support bracket for cracks or other damage.


SMALL | MEDIUM | LARGE


Install

TOC

Place the spacer plate and a new spacer gasket onto the oil cooler support. If the oil cooler is the low mount type, use the drop mount connection and the spacer plate. Use two of the connection retainer capscrews to keep the gasket and the plate loosely aligned on the support.

Install the transfer housing, a new transfer connection gasket, and the six capscrews that hold the oil cooler support to the oil cooler transfer housing. Tighten the capscrews.

Torque Value:  47  n.m  [35 ft-lb]


SMALL | MEDIUM | LARGE


Last Modified:  21-Oct-2011
Feedback / Help